Halloween is by far my 2nd favorite celebratory day of the year, Christmas being #1 of course, and the tradition of spooktifying our home has begun! Sadly, I am actually running behind in the decor department, but lately I have been running behind on everything :(
I did place my order with my father-n-law for one bale of hay (he gets them for free from a farmer by his work!), sorted through our creepy decorations from years past, and made a shopping list of must haves for this year. By the weekend, I will have everything spooked out and all that will be left is the costumes!
A few things are going to be new to me this year. First, I am MAKING my kiddos Halloween costumes. NEVER EVER have I done this before!! I am honestly terrified at the thought, but I have a tight budget (obviously) and they have faith in me...I think...
The theme this year - ZOMBIES. My wonderful cousin throws a huge themed Halloween bash every year and this just had to be the year of the ZOMBIES! Ghosts would have been right up my alley, my parent's probably still have the white bed sheets with holes cut out for eyes laying around they used for our costumes. But no. It's ZOMBIES! Don't ask why, but I feel the need to capitalizes all letters in the word ZOMBIES, I guess for dramatic purposes...
So, to get me in the ZOMBIES mood I picked up a Styrofoam wall hanger:
This was only a dollar at Dollar Tree and proudly rest on the center shelf of my entertainment stand for inspirational purposes. I asked the kiddos, "What type of zombie would you like to be?" and my daughter replied first, "A girl who just woke up and turned into a zombie." OK, the eleven year old knows what she wants! She then proceeds to explain which pajamas and how her make up should look and so on. My son however, seven years of age, had to mull over the idea for a bit. In fact, he is still mulling it over. Hopefully we have a specific type nailed down soon - I'll get back to you on that. As for my eleven year old's costume - old pajamas, blue eye liner to draw on veins, white clown make up, and some red and purple under her eyes. Simple enough and all I have to buy is some dollar store body parts (specifically a rubber arm?) she claims to need. OKAY...
Whatever happened to being a cute Disney character or action hero? Ahh, how the times have changed. Any how - I evidently have to make costumes for myself and my hubby as well. Everyone must be a zombie to attend and trust me, you want to attend! Here I was thinking of great ZOMBIES I could craft, looking on You Tube for ideas, and what should come on tv at that moment? A Halloween episode of my all time favorite tv show, Roseanne. The episode title was "Halloween IV" and Roseanne gets visited by three ghost to help her out of her Halloween funk, great episode. As I am watching, I see Darlene's costume of Tippi Hedron- she's in a gray blazer and pencil skirt with birds attached every which way to it, for all true horror fans we know this comes from the classic movie from 1963, "The Birds", in which a small town is terrorized my killer birds. Now - the costume might not be original - but it would be CHEAP to make!!

My Printies is a really cute craft with a unique twist on creating stuffed animals. The Printies are fabric designs of different animals, etc. The fabric is attached to printer paper in which your child's designs are transferred onto after they are created at the My Printies website. There are several kits you can buy that include everything your child will need to craft a new creation.
We decided to have a craft night Friday and I was blessed to have not only my kiddos, but my adorable niece here for the fun! My Printies for everyone :)
My Printies Pet Design Studio. I was just as eager to try this out as the kids :)
The process was simple enough; First purchase a kit and go online to create a new account at My Printies. Second, once you verify your new account you are taken to the design studio. The kids each picked out which pet they wanted to create ahead of time allowing for a surprisingly easy process. Each one waited patiently for their turn at the computer to design their own pet.
As you can see, my son was overly enjoying the waiting process! He is proudly displaying the test sheet & the actual printies sheet.
I liked the idea of having test sheets to ensure we were loading the paper correctly and so the kids could see how their designs were going to look.
Once the design is complete, you load a test sheet into the printer and run it through to check the design and proper way to load. Then you place the fabric sheet in and wallah! Front side first, allow 5 minutes for the ink to dry and then same process for the back.
Once the fabric sheet is dry, simply fold along perforated lines to remove fabric from the paper.
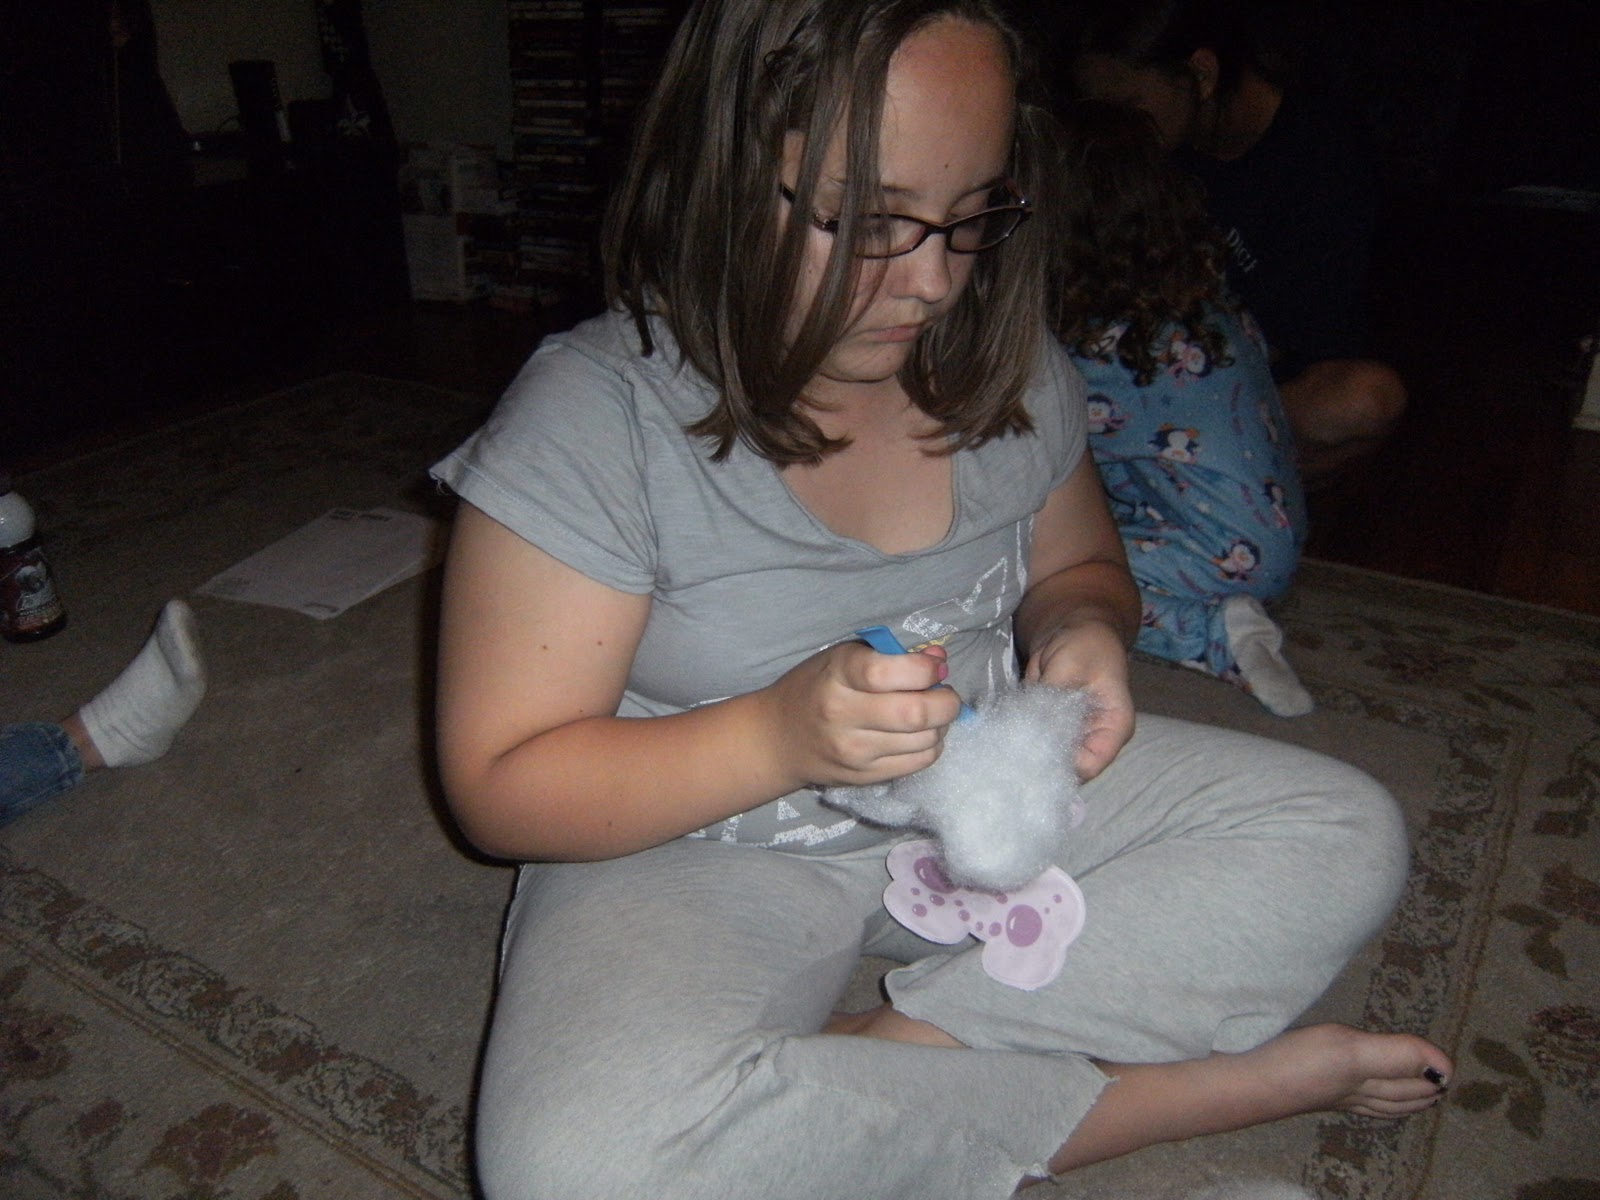
My daughter was very focused during this part.
Once the critter is all separated from the printer paper the stuffing begins!
After the stuffing, it's as simple as folding the open tab inside and adding feet or my sister opted to sew the bottom closed so my niece could sleep with her horse creation!
Presto! It was really that simple and everyone had a good time doing it :)
The kids enjoyed it so much they are already asking for a new kit! Only downside to this craft, the ink :(
Ink is so expensive, but you can select different settings for your printer to help minimize the amount of ink used. Otherwise, the kit was well worth it and a great craft idea for kids of all ages!
It's a rainy, cold day here in StL this Sunday. We were looking forward to visiting Eckert's farm today for some apple picking fun, but as always mother nature really loves StL!
Instead of farm filled excitement, I busted out the craft box and told 'em to dig in! It is our go to box for rainy days, snowy days, or sicky days :)
They decided on making tie and knot pillows, mostly because it was the latest edition to the craft box. I love crafts, the kids love crafts, but I admit - I have to work really hard at being crafty! Thrifty is my thing, not crafts! A recent visit to Hobby Lobby (actually my first visit ever) proved to be an overwhelming expeirence. My hands just wanted to touch everything, ideas started pouring in, and I couldn't believe this was my first time in this STORE! Welp, I spotted some super cute hankercheifs and a little leaflet telling you how to make tie and knot pillows out of them. SWEET! Kids will love doing this and how hard cold it be??
So here's what we had to do this craft:
- scissors
- 4 hankercheifs
- polyester stuffing
- kids LOL
As you can see, Spongebob hankies & zebra stripes. Cute!
First, I had the kiddos cut strips about 3/4" around the perimeter of the hankies, following the instructions on the handy chart from the store.
Easy enough! Then came time to tie and knot the hankies together. My daughter wanted to share with her cousin, they created to pillows while my son wanted one giant pillow all to himself.
Next, according to the directions, you are supposed to place hankies over a pillow form. I didn't have a pillow form to lay these over, but I did have some polyester stuffing left from a recent E.T. emergency (his armpit hole lead to major stuffing seepage) that I figured would work perfect. The kiddos greatly enjoyed the stuffing part...
He looks thrilled!
Finally, their pillow creations were complete!
My son's pillow looks more like a plump marshmellow, which pleased my daughter beyond belief. My son was just happy his was bigger! I must admit, I like how the girls' turned out:
Adorable!!!
Very happy with how this rainy day craft turned out :) It was a load of fun and I can't wait to try some new crafts soon! Best part; the whole thing costed less than $5 for all three pillows! AWESOME!
What's your favorite activites to do on rainy days like today? Any tricks or go to things to keep the kiddos entertained?